
Displaying a user dialog to user through Company portal while running in User or System context

In this post I will show you how to display a PowerShell user interface like WPF to user through Company portal while running in User or System context.
Context
- You have a user interface to display to user
- This GUI should be displayed through Company Portal
- You need to run it through user or system context
User warning
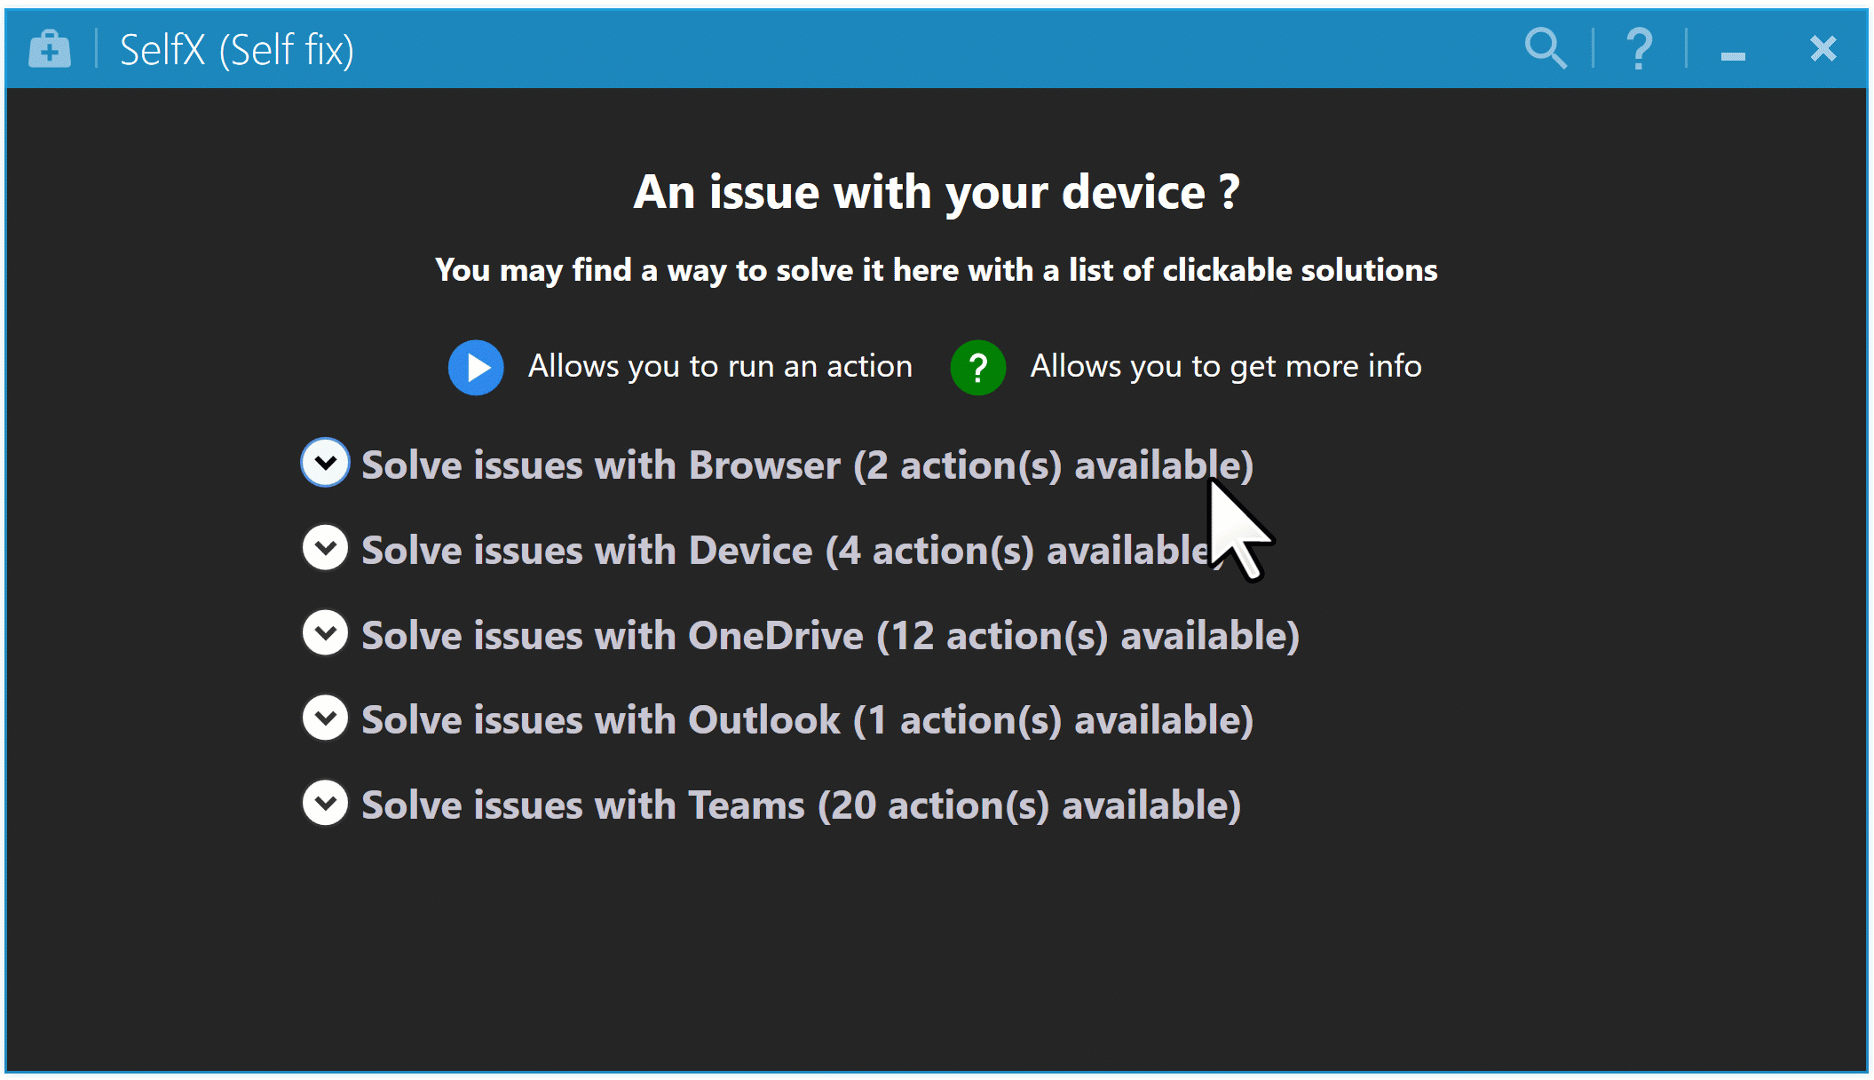
For the example in this post I want to display the SelfX tool to user both in User and System context.
See more information about SelfX there.
See below an overview of this warning:
User or System context
For both solution we will create a Win32 application that will gather our GUI.
Then we will make it available for user through the Company portal.
User context
Displaying an application through Company portal is pretty easy, nothing to do, you just need to select run as user in the Intune portal and your GUI will be displayed as expected.
There in the example we will just need to run the main SelfX.ps1 file.
In the Win32 application in Intune portal, we will add the below install command:
System context
Displaying a GUI through Company portal to user in System context is a bit tricky compared to user context.
Indeed if you just run the PS1 it won't display the GUI to user because it's not the same user, GUI is running in System context wherease user is running under its own user session.
To display a user dialog to user an easy way is to use the well known and old friend ServiceUI.exe
If you played with MECM you should known it.
You can download it there.
We will then procced as below:
1. Add ServiceUI.exe at root of our Win32 package file (intunewin).
2. Create a new PS1 like Run_PS1.ps1
3. Edit it and add the below command:
4. In the Win32 app in Intune portal, we will add the below install command:
Implement with Intune
Creating the package
1. Download the tool here
2. Run Intunewin Create and Extract (EXE or desktop shortcut)
3. Go to Build tab
4. Go to Package sources part
5. Click on Browse
6. Select the folder containing your application
7. Go to Application name
8. Select your PS1 file
9. Go to Location part
10. Click on the Browse button
11. Select the folder where to save the intunewin package
12. Click on Build the intunewin package
13. Create a new Win32 app in Intune
14. Integrate the new intunewin created
Integrating in Intune
1. Go to Intune
2. Go to Client apps
3. Go to Apps
4. Click on Add
5. Select Windows app (Win32)
6. Browse to the intunewin
7. Click on OK
8. Click on App information > Configure
9. Select install as User or System depeding of what you want
10. Click on OK
11. Click on Program > Configure
12. In Install command type this:
13. Type your uninstall command
14. Click on OK
15. Click on Requirements > Configure
16. Type your requirements
17. Click on OK
18. Choose your detection rules
19. Click on Next
20. Click on OK twice
21. Click on Add
Assign the app
1. Go to Assignments
2. Click on Add group
3. Assign as you want


Enregistrer un commentaire