Create a Metro design MDT Progress Bar Part 1
https://www.systanddeploy.com/2018/01/create-metro-design-mdt-progress-bar.html
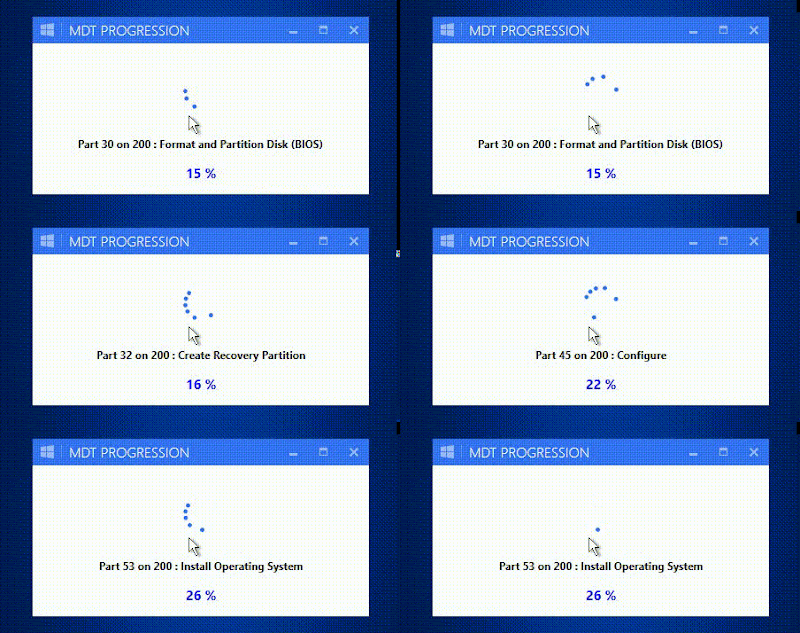
In this post I will show you a Metro design Progress Bar I have done to replace the existing MDT progress bar. I will show you two kinds of Progress Bar.
In a previous post I explained how to use native MDT variables, to control the progress bar current step name and number, and also the total step number.I will show you how to use those variables to create a cool metro design Progress Bar GUI to replace this one from MDT ?
Prerequisites
- Add PowerShell in your Boot image
How to get the GUI ?
How to use it ?
1 / Copy the folder MDT_WPF_Progress in your deploy folder.
- The Run_Progress.ps1 is used to run the ProgressBar script in a external process.
- The MDT_Progressbar_WPF.ps1 is used to display the GUI with a progress bar.
- The MDT_ProgressRing_WPF.ps1 is used to display the GUI with a progress ring.
 |
| PS1 files |
The first one called Run Metro progress, is cnfigured as below:
 |
| Run metro progress step |
 |
| Wait for GUI step |
3 / Hide the existing MDT progress Bar, to do this comment the function ReportProgress and add the below part in the script ZTIUtility.vbs.
See the post from Michael Niehaus.
How it works ?
The Run_Progress.ps1 file that you added in the Task sequence, launches the progress bar script.
See below how to use it, depending of the progress bar you want.
See below the scripts to display two differents style of progress bar.GUI Progress bar
See below how it looks like.
See below how it looks like.
What's next ?
In the next post I will explain you how to display a progress bar that looks like as below:


3 commentaires
Bonjour,
Très bon article.
impossible de récupérer le dossier MDT_WPF_Progress.
Pouvez-vous m'aider?
merci
The Download link is not working. Please upload it GitHub and update the link.
HEllo, please upload the files zo github
Enregistrer un commentaire