
Store passwords on Azure Key Vault and retrieve them with PowerShell

In this post I will show you how to store your passwords (like BIOS password) on Azure key vault, then retrieve them from PowerShell.
Context
- You have multiple enrolled devices
- All your BIOS devices have or must be protected with a password
- You want a secure way to store BIOS password
- You want for instace to store them on Azure
- You want to be able to retrieve them from a device
Our examples
In this post we will use two ways to connect to key vault from the device to get the password value:
- By typing credentials
- By using an Azure application (recommanded)
Create the Key Vault
1. Go to Azure Portal
2. Go to Key Vault
3. Click on Add

4. Choose your subscription, resource group (or create a new one)
5. Type a Key vault name like SDVault
6. Choose your region
7. Click on Review + Create

8. Click on Create
9. Wait for the below message

Add our password
1. Click on Go to resource

2. Go to Secrets

3. Click on Generate/Import

4. Type a name like NewBiosPassword
5. In Value, type password, like: P@$Sw0ord

6. Click on Create
7. Your password is now available

Retrieve password from PowerShell
1. Open PowerShell
2. Install the module Az.Accounts
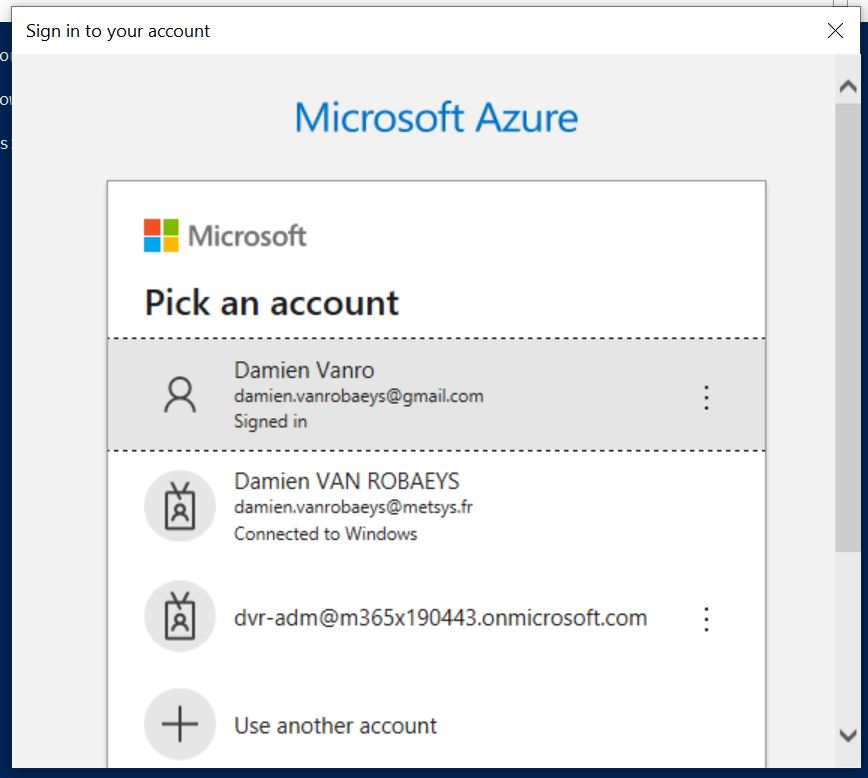
3. Type command: Connect-AzAccount
4. Type your credentials
5. Type the below code to retrieve infos from key vault
6. See below the result:

7. Now we will get the password using SecretValue, as below:
8. See below the result:
Now we are able to get the password from the key vault.
However we have to type our credentials.
Now let's create a quick Azure app to authenticate without to type credentials.
We will connect to the app using a certificate
Generate a certificate
1. On your device, type the below code to generate the certificate:
2. See below the result:

3. Note the Thumbprint information
4. The certificate is now added to your device

Create the Azure app
1. Go to the Azure portal
2. Go to App registrations
3. Click on New registration

4. Type your app name, like BIOS_PWD_App

5. Click on Register
Import certificate
Now we will add our certificate to our new Azure app
1. Go to your Azure app
2. Go to Certificates & secrets

3. In the Certificates part, click on Upload certificate

4. Browse to your certificate, MyCert.cer
5. Click on Add

6. You will get the below notification:

Note: You need to import certificate on device that needs to use the azure app.
Retrieve password from PowerShell
1. In your Azure app go to Overview
2. Note both Application id and tenant id infos
3. Go to Certificate and note Thumbprint info
4. Open PowerShell
2. Type the below command to connect with our new Azure app
3. You will get the below info:

4. Type the below commad to get info from our key vault
5. You will get the below error:

6. This is normal because the application does not have access to key vault content
Add Access policies
In this part we will configure it to jet get info from our password, meaning secret.
You can of course change rights depending of your need.
1. Go to your key vault
2. Go to Access policies

3. Click on add access policies

4. In Configure template, we will choose Secret management
5. In Key permissions, unselect everything
6. In Secret permissions, we will just add Get
7. In Certificate permissions, unselect everything
8. In Select principal, click on None selected
9. Choose your app, here BIOS_PWD_App
10. Click on select
11. Click on Add

12. Click on Save
13. Type again the command to the password:
14. Tadaa you can now get infos


Enregistrer un commentaire