
PowerShell and WPF: Use DatePicker Control to create a quick booking system
https://www.systanddeploy.com/2020/03/powershell-and-wpf-use-datepicker.html
We will see how to select dates and how to display available and unavailable dates in a calendar.
I will then show you a booking tool example that will allow a user to type his name, select a date and save infos in a CSV.
Once the tool is loaded it will check for unavailable dates and bar them in the calendar.
Get scripts
DatePicker in XAML
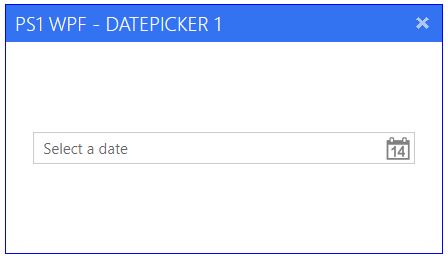
To add a calendar in your application the control to use is DatePicker.
See below how to add it:
See below an overview:
Basic attributes
You can then customize it with different attributes as below:
- IsTodayHighlighted (True/False): Highlight today
- SelectedDateFormat(Long/Short): lundi 16 mars 2020 or 03/16/2020
- SelectedDate: Get the selected date from the DatePicker
- DisplayDate: Start at a specific date
- DisplayDateStart: Calendar starts with this date
- DisplayDateEnd: Calendar ends with this date
- FirstDayOfWeek: Set the first day of the week instead of Sunday
See below an XAML sample with all those parameters:
See below the result:
Unavailable dates
In the calendar you can also bar some dates to inform users that they are not available.
The WPF term to add this is BlackoutDates, then you have to add a date range meaning starting and ending date by adding CalendarDateRange.
For instance if you want to bar dates from 15 March 2020 to 20 March 2020, add the below code in your DatePicker:
See below the full DatePicker code:
See below the result:

DatePicker in PS1
Get the selected date
In the below example I have a DatePicker and a Button.
By clicking on the button, this will display a messagebox with the selected date from the DatePicker.
As mentioned before, the attribute to use is SelectedDate.
See below the PowerShell code to get the SelectedDate:
See below the result:

Event on DatePicker
When you select a date or change it, you may want to display it somewhere.
For instance, let's add a TextBox control beside of the DatePicker, as below:
See below the XAML code:
In order to get the selected date by manipulating the DatePicker you have to use the event Add_SelectedDateChanged.
Then add this event to your DatePicker control.
See below the PowerShell code to display the date in the TextBox after selecting it in the calendar:
See below the result:

Generate BlackoutDates
You can also add unavailable dates in the calendar directly from PowerShell instead of adding them in the XAML.
This could be useful to be more dynamic.
We will use the previous example and add blockout dates.
To generate blockout date, we will proceed as below:
Add blackoutdates to the DatePicker control, as below:
Create a CalendarDateRange object as below:
Add Start date to the CalendarDateRange object s below:
Add End date to the CalendarDateRange object s below:
Add the CalendarDateRange to the DatePicker as below:
See below the full Posh code:
See below the result:

Compare Start and End dates
It could be useful to have a GUI with two datepickers in order to have a start Date and an End date.
We will create a little tool like this in the next part.
In this case you may want to compare if the end date is lesser than the start date.
You can use two methods.
Compare from a button
In this method we have a button to book dates. This will first compare both start and end dates.
See below the result:
Compare from DatePicker
In this method, it will alert directly the user when he select a date if the end date is lesser than the start date.
See below the result:

Building a booking system
Context
A GUI allows users to reserve a meeting room, for instance.
A CSV will contain all reservation with three columns: User_Name, Start_Date and End_date.
User should type his name and select a start and end date.
Once user click on the book button the user name, start date, end date will be added in the CSV file.
When user open the GUI all dates from the CSV should be blocked in the calendar.
The GUI
The GUI will be composed as below:
- One TextBox for user name
- Two datepickers for start and end dates
- One button to book
The CSV
The CSV
My CSV file looks like as below:

The Posh script
The PowerShell part is composed in 3 parts:
1. Get dates that are not avaiable from the CSV
2. Generate the BlackoutDates object in the DatPicker
3. Action on the button
Context Part 1 and 2
See below the code:
Part 3
See below the code:
Example in action
See below an overview:


Enregistrer un commentaire